Welcome to Carrot! Launching your site will be the very first thing you do after you sign up for a Carrot account.
As you go through the site-creation process, you’ll be prompted to pick a site type and a design! The site type will determine your site’s default target audience. The design will be your first step towards personalizing your site.
Let’s get started!
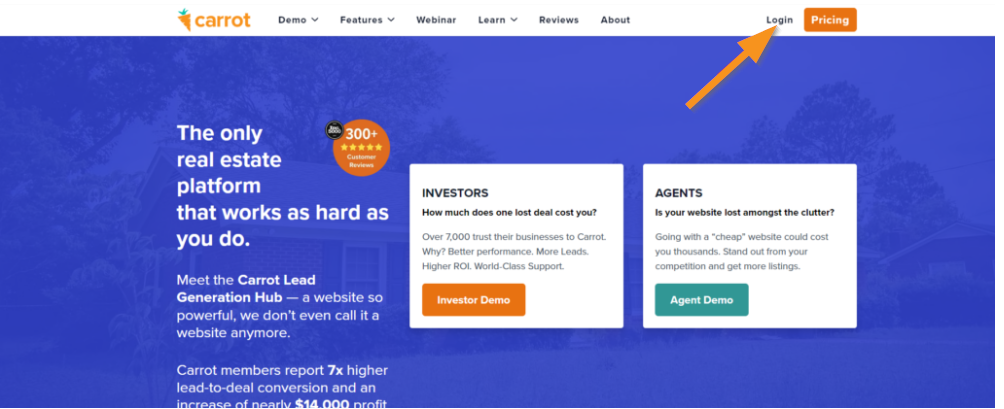
Step 1: Log into your Carrot account
Head over to Carrot.com and log in to your account:
Step 2: Add New Site
Once you’re logged in, navigate to your dashboard and select “Add New Site.” This is where the magic begins!
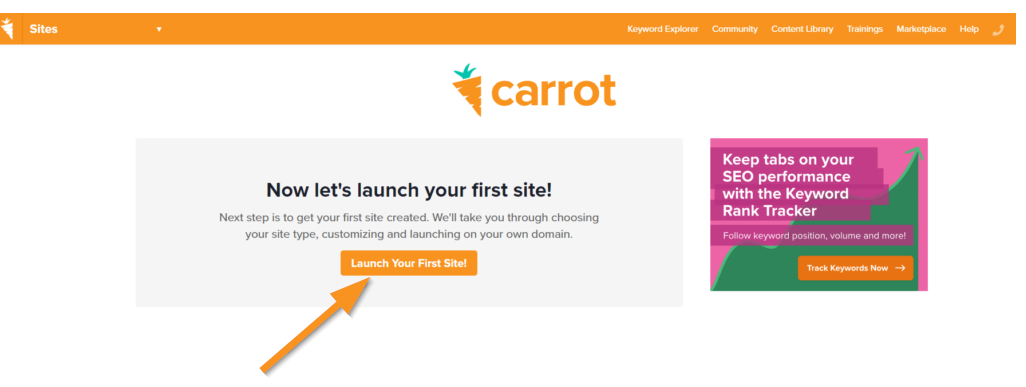
*If this is your first site your screen will look a bit different from this. That’s ok! The steps will be the same after you get started!
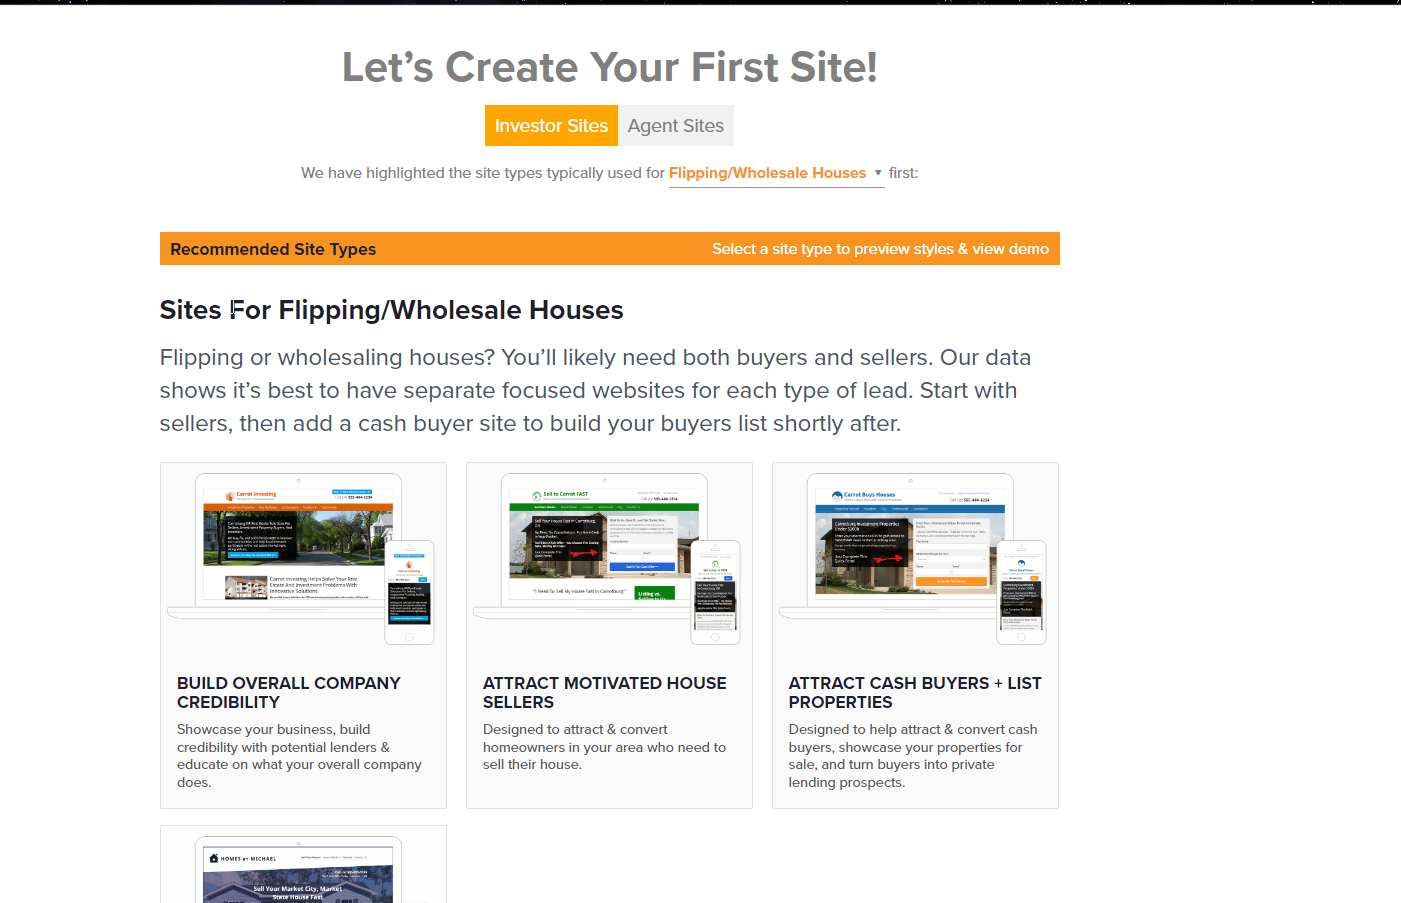
Step 3: Select your site type
Choose the type of site that best fits your business needs.
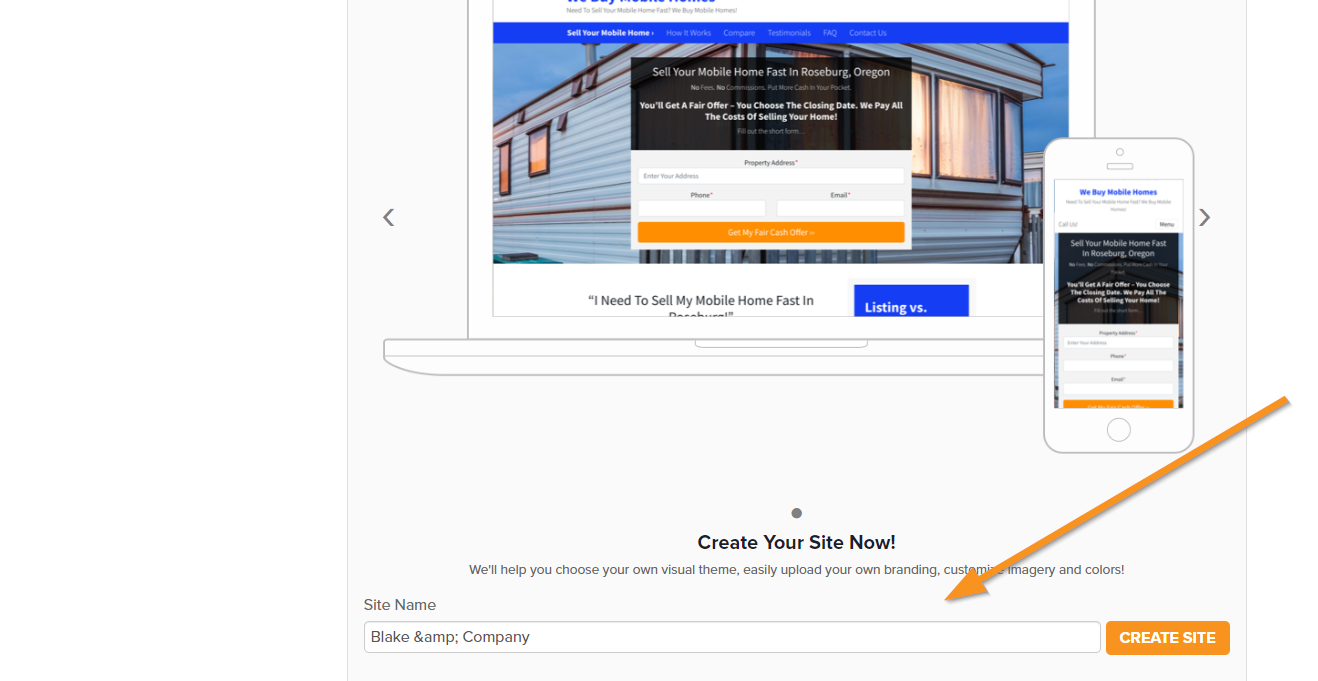
Step 4: Name your site and click the orange “Create Site” button
Provide the necessary information for your site. Don’t worry; it’s a breeze! This step ensures your site is tailored to your preferences.
Your site name will appear as your default logo in the header of your site until you attach a logo. You can change the site title any time in the site’s settings.
Nice work! Your site is now created, and you can start making edits to it!
Step 5: Your site template goes live! 🎉
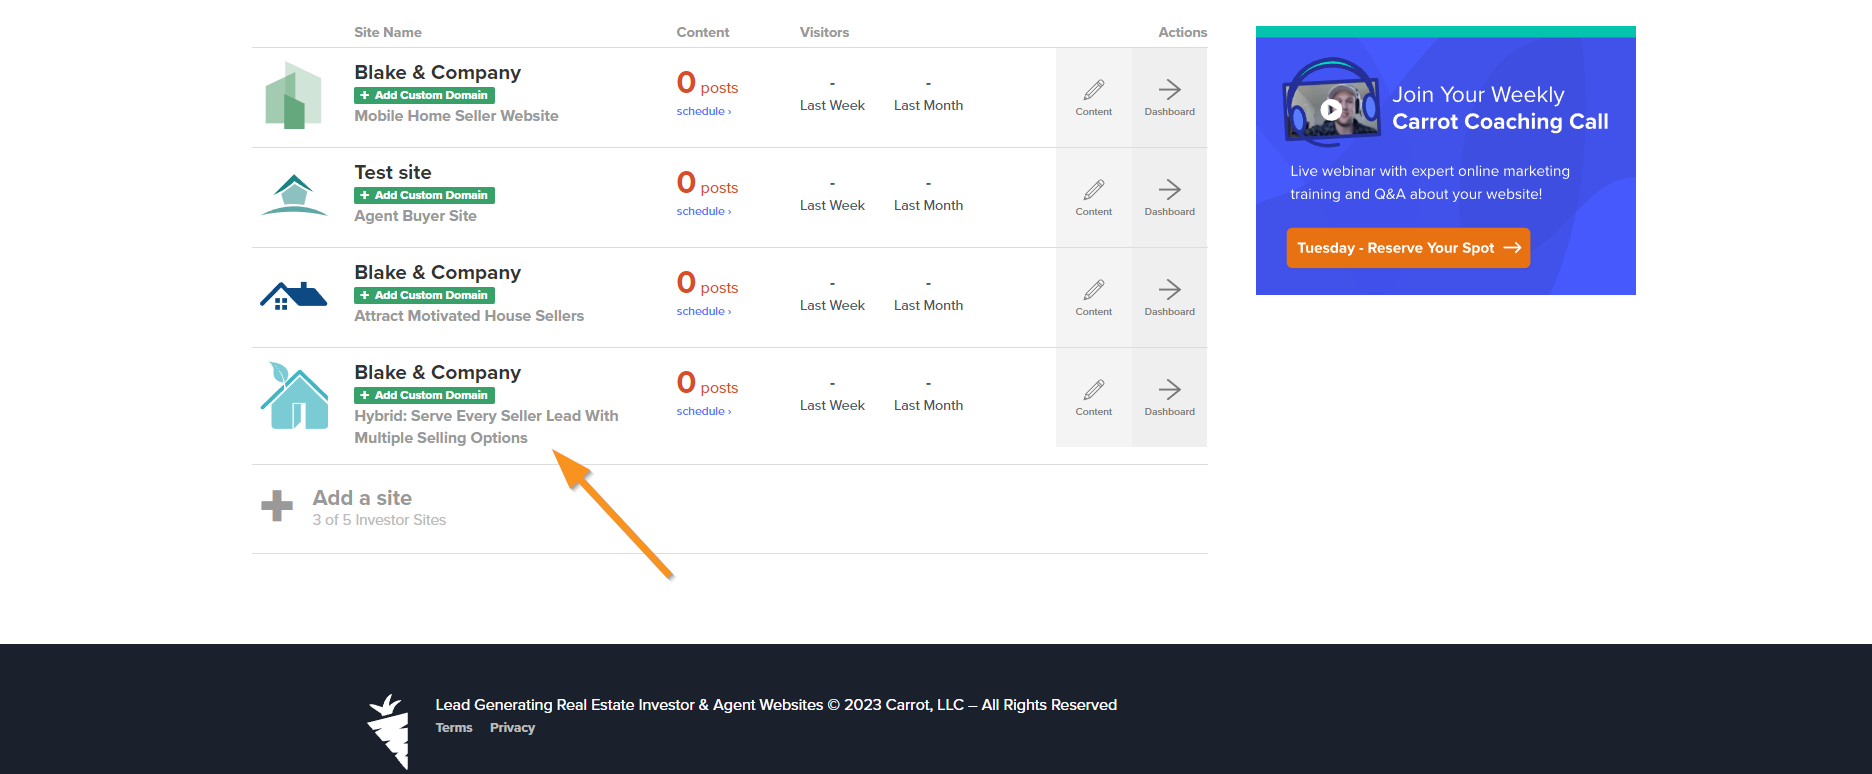
After completing the information, your chosen template will go live. Now, you’ll be able to view any sites you’ve created in your account dashboard:
Now you’re ready to dive into the creative process!
Getting Started: Next Steps
Once you’ve launched your first Carrot site, you’ll want to confirm your default company information and start customizing the look of your site. You’ll also want to attach your domain.
Check out these tutorials to get started:
- Confirm & Update Your Default Company Information in Settings
- Uploading Your Logo & Custom Site Icon
- Change Your Site’s Colors
- Connect Your Domain
How to view your site:
Once your site is launched, you can preview it at any time to see what your visitors are seeing.
You will learn how to view your site and pages using three methods.:
- From your account’s dashboard
- By clicking the domain name, once it’s attached
- View individual pages from within the content dashboard
How to view your site from your dashboard
- Log into your account. Once logged in, you’ll go to your site’s dashboard to view your site if you haven’t attached a domain.

- Then you’ll click the last link on the page’s menu to “view” to see your site.
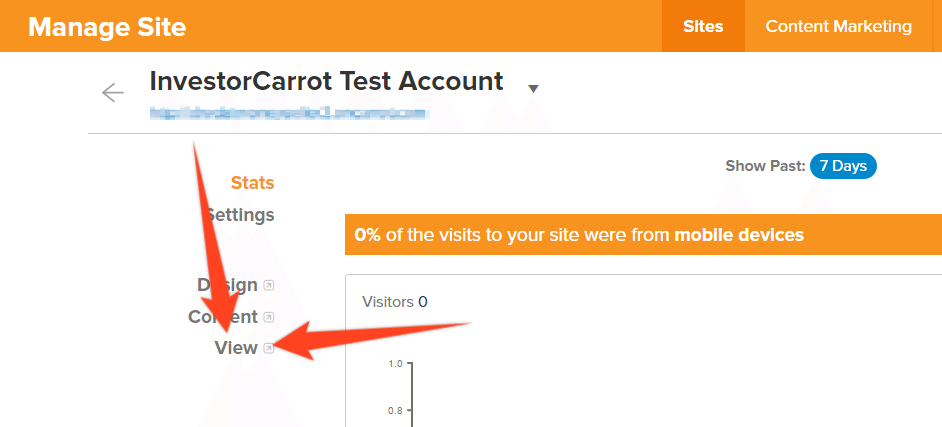
- If you attached a custom domain, you’ll see your site’s link below the Site Title. Click the link to view it.

Learn More:
After completing this tutorial, please let us know if you found it helpful! Or, if you found it missing information that you needed!
We’ll be sure to consider adjustments and reach out if you leave your email 🙂