If you decide to run Google Ads, you’ll likely want to track conversion data to send to your Google Ads account! Installing an AdWords Conversion tag to your site is just the way to do that! This will send data back to AdWords when a lead views a specific page on your site, either the Step 2 page, or the Thank you page – it’s your choice! The idea is that a lead should only ever reach your Step 2 page or Thank You page by first submitting a form on your site.
Part 1: Get Your AdWords Conversion Tag

- Log into your AdWords account
- Find the wrench icon in the top right corner of the screen and click on Conversions. It’s going to take you to a different page called conversion actions. You’ll get a blue plus and then you’ll want to track your sales, so your website. You can name it whatever you’d like. Typically a good name is AdWords leads.
- Set the Category. Set it to “lead.”
- You’ll want to count just one conversion. If you count every, it will over-record your AdWords leads within the account. And, set the conversion window to 30 days.
- Set your View Through Conversions to 30 days. This will track and record anyone who has clicked on an ad and then within 30 days come back to your website and opted in.
- Choose either “last click” or “linear” attribution.
- Create and continue.
Part 2: Pasting the Conversion Tag on Your Website
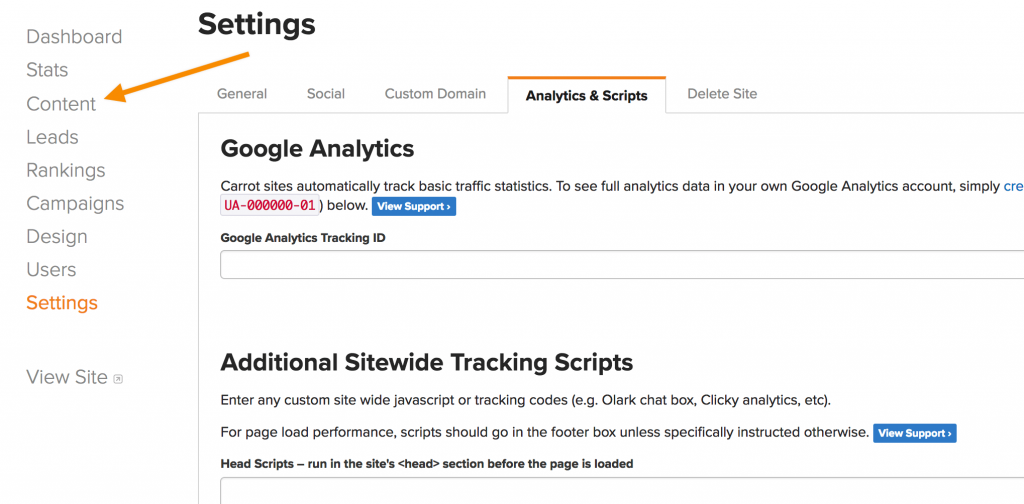
After the above steps, you should have access to both a global conversion tag and an event snippet. You need to copy all of the code snippet for each when you paste them. Now it’s time to head to your Carrot site dashboard and add your scripts! Once in your site dashboard, click on “Settings” in the left-hand navigation.
Next, click on the “Analytics and Scripts” tab:
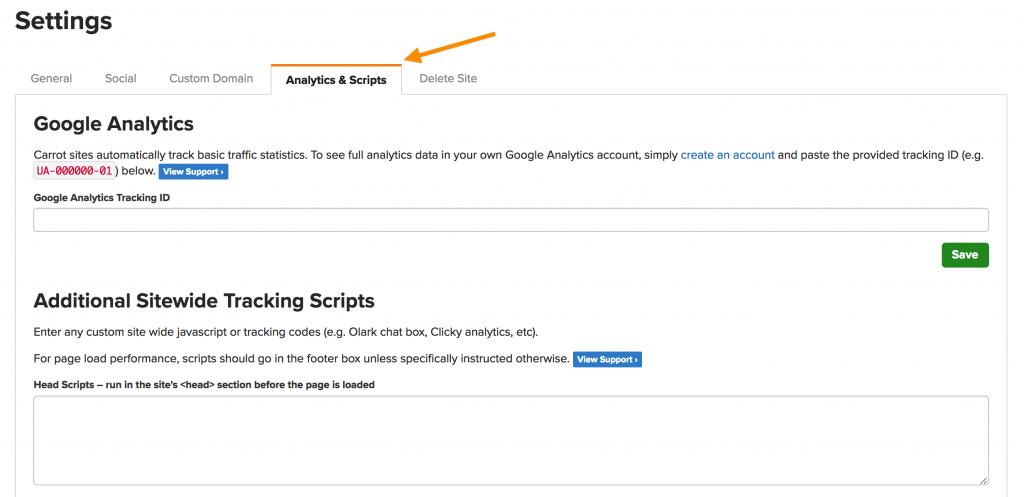
Then place snippet of code they want in the “head” in the Head Scripts box:
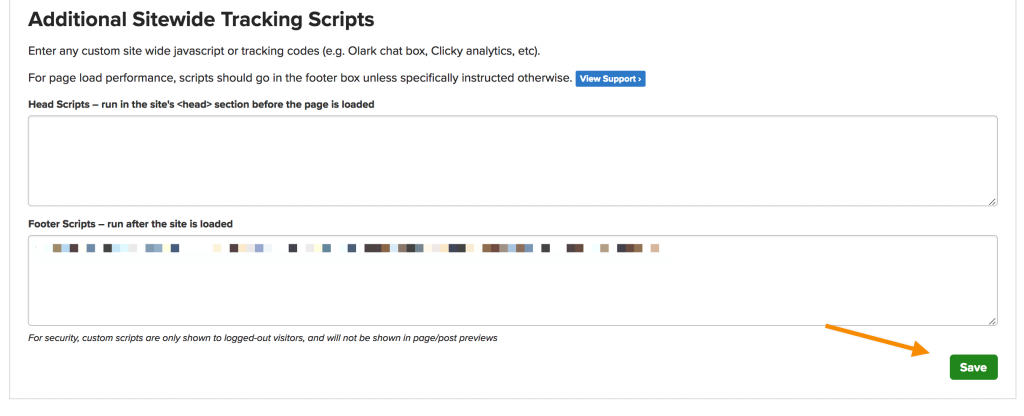
For the snippet of code they want in the “body”, you can place it in the Footer Scripts box here:
After the script has been pasted, click Save at the very bottom of the Analytics and Scripts section:
Now, after the Global script has been installed, you’ll need to go to your content section.
Next, find your “Step 2 of 2: Help Us With A Few More Bits Of Information…” page or the Thank You page and click to edit.

Back in AdWords, you’ll need to copy the snippet for the Event. Keep this event snippet as “page load”. This will ensure each time your “Step Two” Page” loads, it will count as a lead as long as the search came through the AdWords ad.
Again, copy this extra little piece of code.
Go back to your step two page and go all the way down to the bottom to Additional Settings and find Tracking Codes:
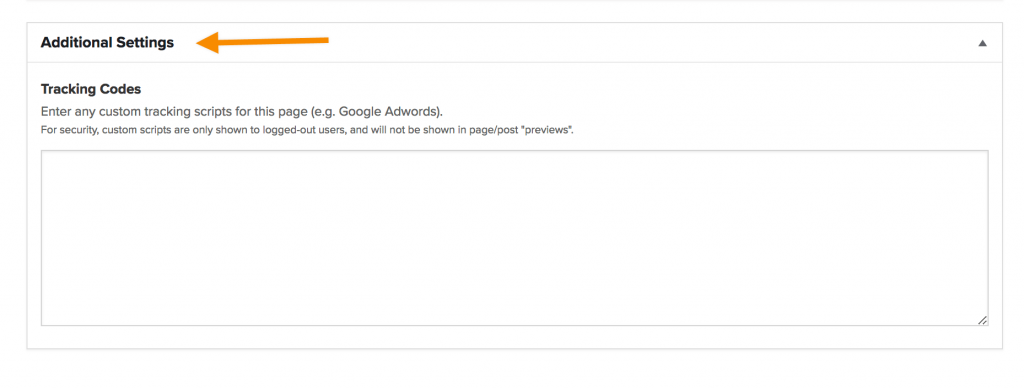
You need to paste your event script into the Tracking Codes section:
Once the script has been installed, go back up to the top of the page and click “Update” to save your changes.
That is it! You now have your lead conversion tracking script installed.