This tutorial will guide you on how to properly connect your Namecheap domain to your Carrot site. Want us to do it for you? Please scroll to the end of this tutorial and fill out the form to get started.
*If you have a custom email, this process will likely disconnect the email. Please be sure to check with your registrar to ensure it continues to work after this update.
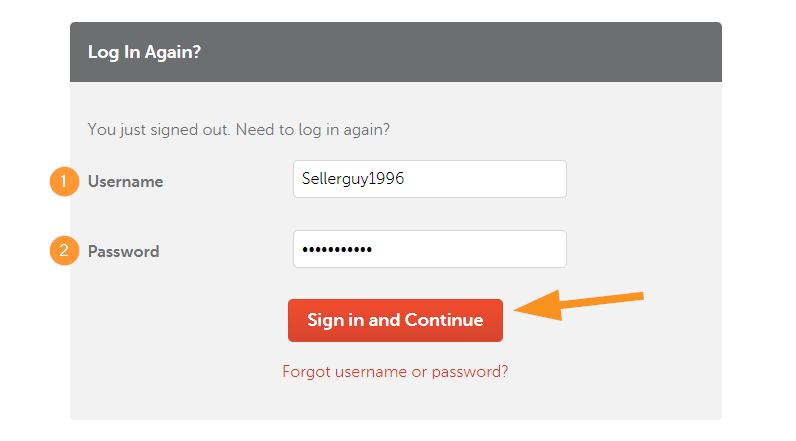
Step 1: Log into Your Namecheap Account:
- Type in your username and then your password.
Step 2. Navigate to Your Domain:
- Once logged in, you will be on the main Dashboard page of your account. From here, click on the “Domain List” tab found on the left.
- Click the “Manage” button on the domain you are connecting. If you own more than one domain name, scroll through them and find the one you would currently like to connect to Carrot.
Step 3. Add a CNAME Record:
- Click on the Advanced DNS tab.
- Edit the CNAME record that is present. The Host column’s field should have “www” entered into it. The Value column’s field should have “carrot.com” entered into it.
- Once this change is made, click the green checkmark icon to save your work. This whole step is shown below:
Step 4. Add a Redirect:
- Click on the Domain tab to navigate back to this area.
- Make sure the Nameserver section is set to “Namecheap BasicDNS” (it already is in most cases!)
- Next to the Redirect Domain section, click “Add Redirect”
- Type your domain name under the “source URL” column. Then, under the “destination URL” column, type this: http://www.yourdomainname.com ⬅️ yourdomainname is a placeholder in this example, switch this out with your actual domain name please.
This is all shown visually below, watch this video if you get stuck!
Click the green checkmark to save your work
Now we are done with Namecheap! Time to head over to your Carrot site!
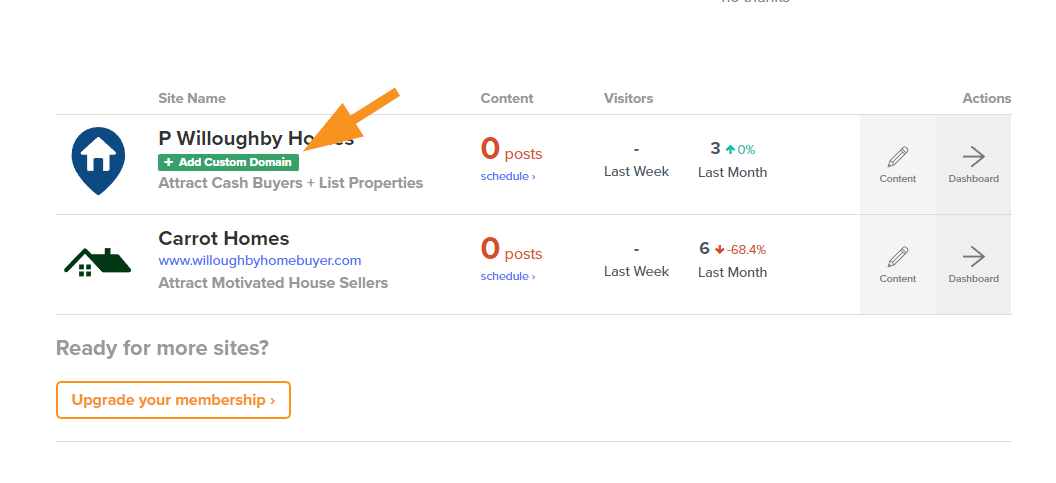
- Sign into your Carrot Account page and underneath the site that you’d like to attach this new domain, click “add a custom domain.”
- Enter your domain name into the field under Step #1, then hit “Save Custom Domain” to save changes.

That’s it! Give it a few minutes for the changes to update.
Want us to do it for you?
We’re ready to support you any time
right here in your browser:
Unable to start a chat? Uh oh, send us an email here instead.
